
Planting From Seed
Seeing little seedlings pop up from the ground you have worked hard to prepare is one of the most satisfying things you could see. I love when the first little green vines break the surface. Each one with its own special uniqueness and beauty. What a gift these little plants are. Bring with them the hope of spring and sunshine.

Growing from seeds is such a great learning experience. It’s what takes gardening to the next level. Growing plants from seeds is an added responsibility, but it is also fun. If you have kids, I encourage you to involve them in this process. I cannot say enough times how beneficial this art is. You can learn so much from these little seedlings. It is such a fantastic opportunity!
Supplies
Like with most gardening, the supply list varies with how much time, effort, and money you are willing to put into it. I am a huge advocate for saving money and using what you already have so most of this will be things most people will have or super easy things to find at a fair price. I will list some optional purchases for those who are willing to invest more. When gardening you will begin to to accumulate supplies. Starting out small in the beginning and slowly building up your stock is completely normal.
Garden Trays
A gardening tray is a must have for starting seeds. I use a plastic seed tray kit that comes with a plastic dome lid, a 75 cell flat, and a leakproof tray. The 75 cell flat has seventy-5little pods for seeds and has a draining hole at the bottom. The leakproof tray is to fill with water and to store the flats in. This keeps the seedlings watered and from making a huge mess. The lid provides the humidity the seedlings need and protects from outside forces. Now if you do not want to buy a kit there are supplements, though they may not be as convenient. Lots of people use egg cartons, plastic or paper cups, coffee pods, pots, or bowls as replacements for a flat. These things all work but slight adjustment might have to be made. If using a cup or bowl of some sort make sure there is a hole for draining at the bottom. To replace the tray a baking sheet or meatloaf pan work fine. You will set the seedling “container” in it and pour a such water as it can contain. This is how we will water the seedlings. A lot of people use the dome lid to hold the heat and create a humid atmosphere for the seedlings, but I do not really feel like they are super necessary. They can become more hassle than help. If the lid is left on for to long mold can appear in your tray and they seeds might get long, leggy, and weak if the lid is left on too long. In short the dome lid can be helpful in the initial stages of the sprouts, but it can also cause damage if left for too long. The seeds usually outgrow the lid about two-three weeks into the growing process.
There are more durable seed kits, but this is the link to the one I currently use:
https://www.homedepot.com/p/Ferry-Morse-Pro-Hex-Seed-Starting-Tray-kit-PHEX-7H/203796233
Seed Starting Soil
Good soil is always a great plus to growing anything. The soil is one of the main providers of nutrients for plants. Like any young living thing, seedling needs specific nutrients. You can buy a soil made for seedlings at almost any garden store. I get my soil from local garden stores or landscaping companies around my town, but Home Depot or Lowes are also great options. Seedlings need a mixture of fertilizer, bone meal, mulch, and compost to live a long and healthy life. Most gardening soils do have a lot of these resources so whatever you see as best works. Potting soil will work just as well as seed soil.
Lighting and Heating
After your seeds are planted there are somethings that are needed to continue their growth. Plenty of light is absolutely necessary! Although window light is great, it is not enough to support a seedling’s needs. They will grow to be thin and not strong, which ruins their chances as cut flowers. In their earliest stages I use an overhanging dome light to provide the extra lighting. If you do not want to buy a dome light, a desk lamp will work too. It is also super important that your seeds stay warm. When I first plant the seedlings, and its still pretty cold outside, I to lay a heat mat underneath my seedling to provide them with a warm damp atmosphere. If you live in warmer areas where it stays about anywhere from 60-70˚F in late winter and early spring, then heating might not be necessary. Just make sure the seeds stay around 65˚F and watch out for cold nights. You can also use a small space heater or place seed starts close to your house’s heater. The one reason I would suggest a heat mat is it is remarkably easy to overheat the seedlings when using a space heater. A heat mat regulates the heating to around 75˚F so the seedlings don’t get too toasty. When using a heater try to place it in a larger area where there is more space for the heat to go and the ventilation, so the seedlings are not blasted.
Link to the heaters I used:
Amazon_Heater
There are some small items that it is good to have as well.
Gloves
Small spade or hori hori knife
Garden labels or tags to mark which seeds are which
Large workspace
Fertilizer to lay over seeds once planted
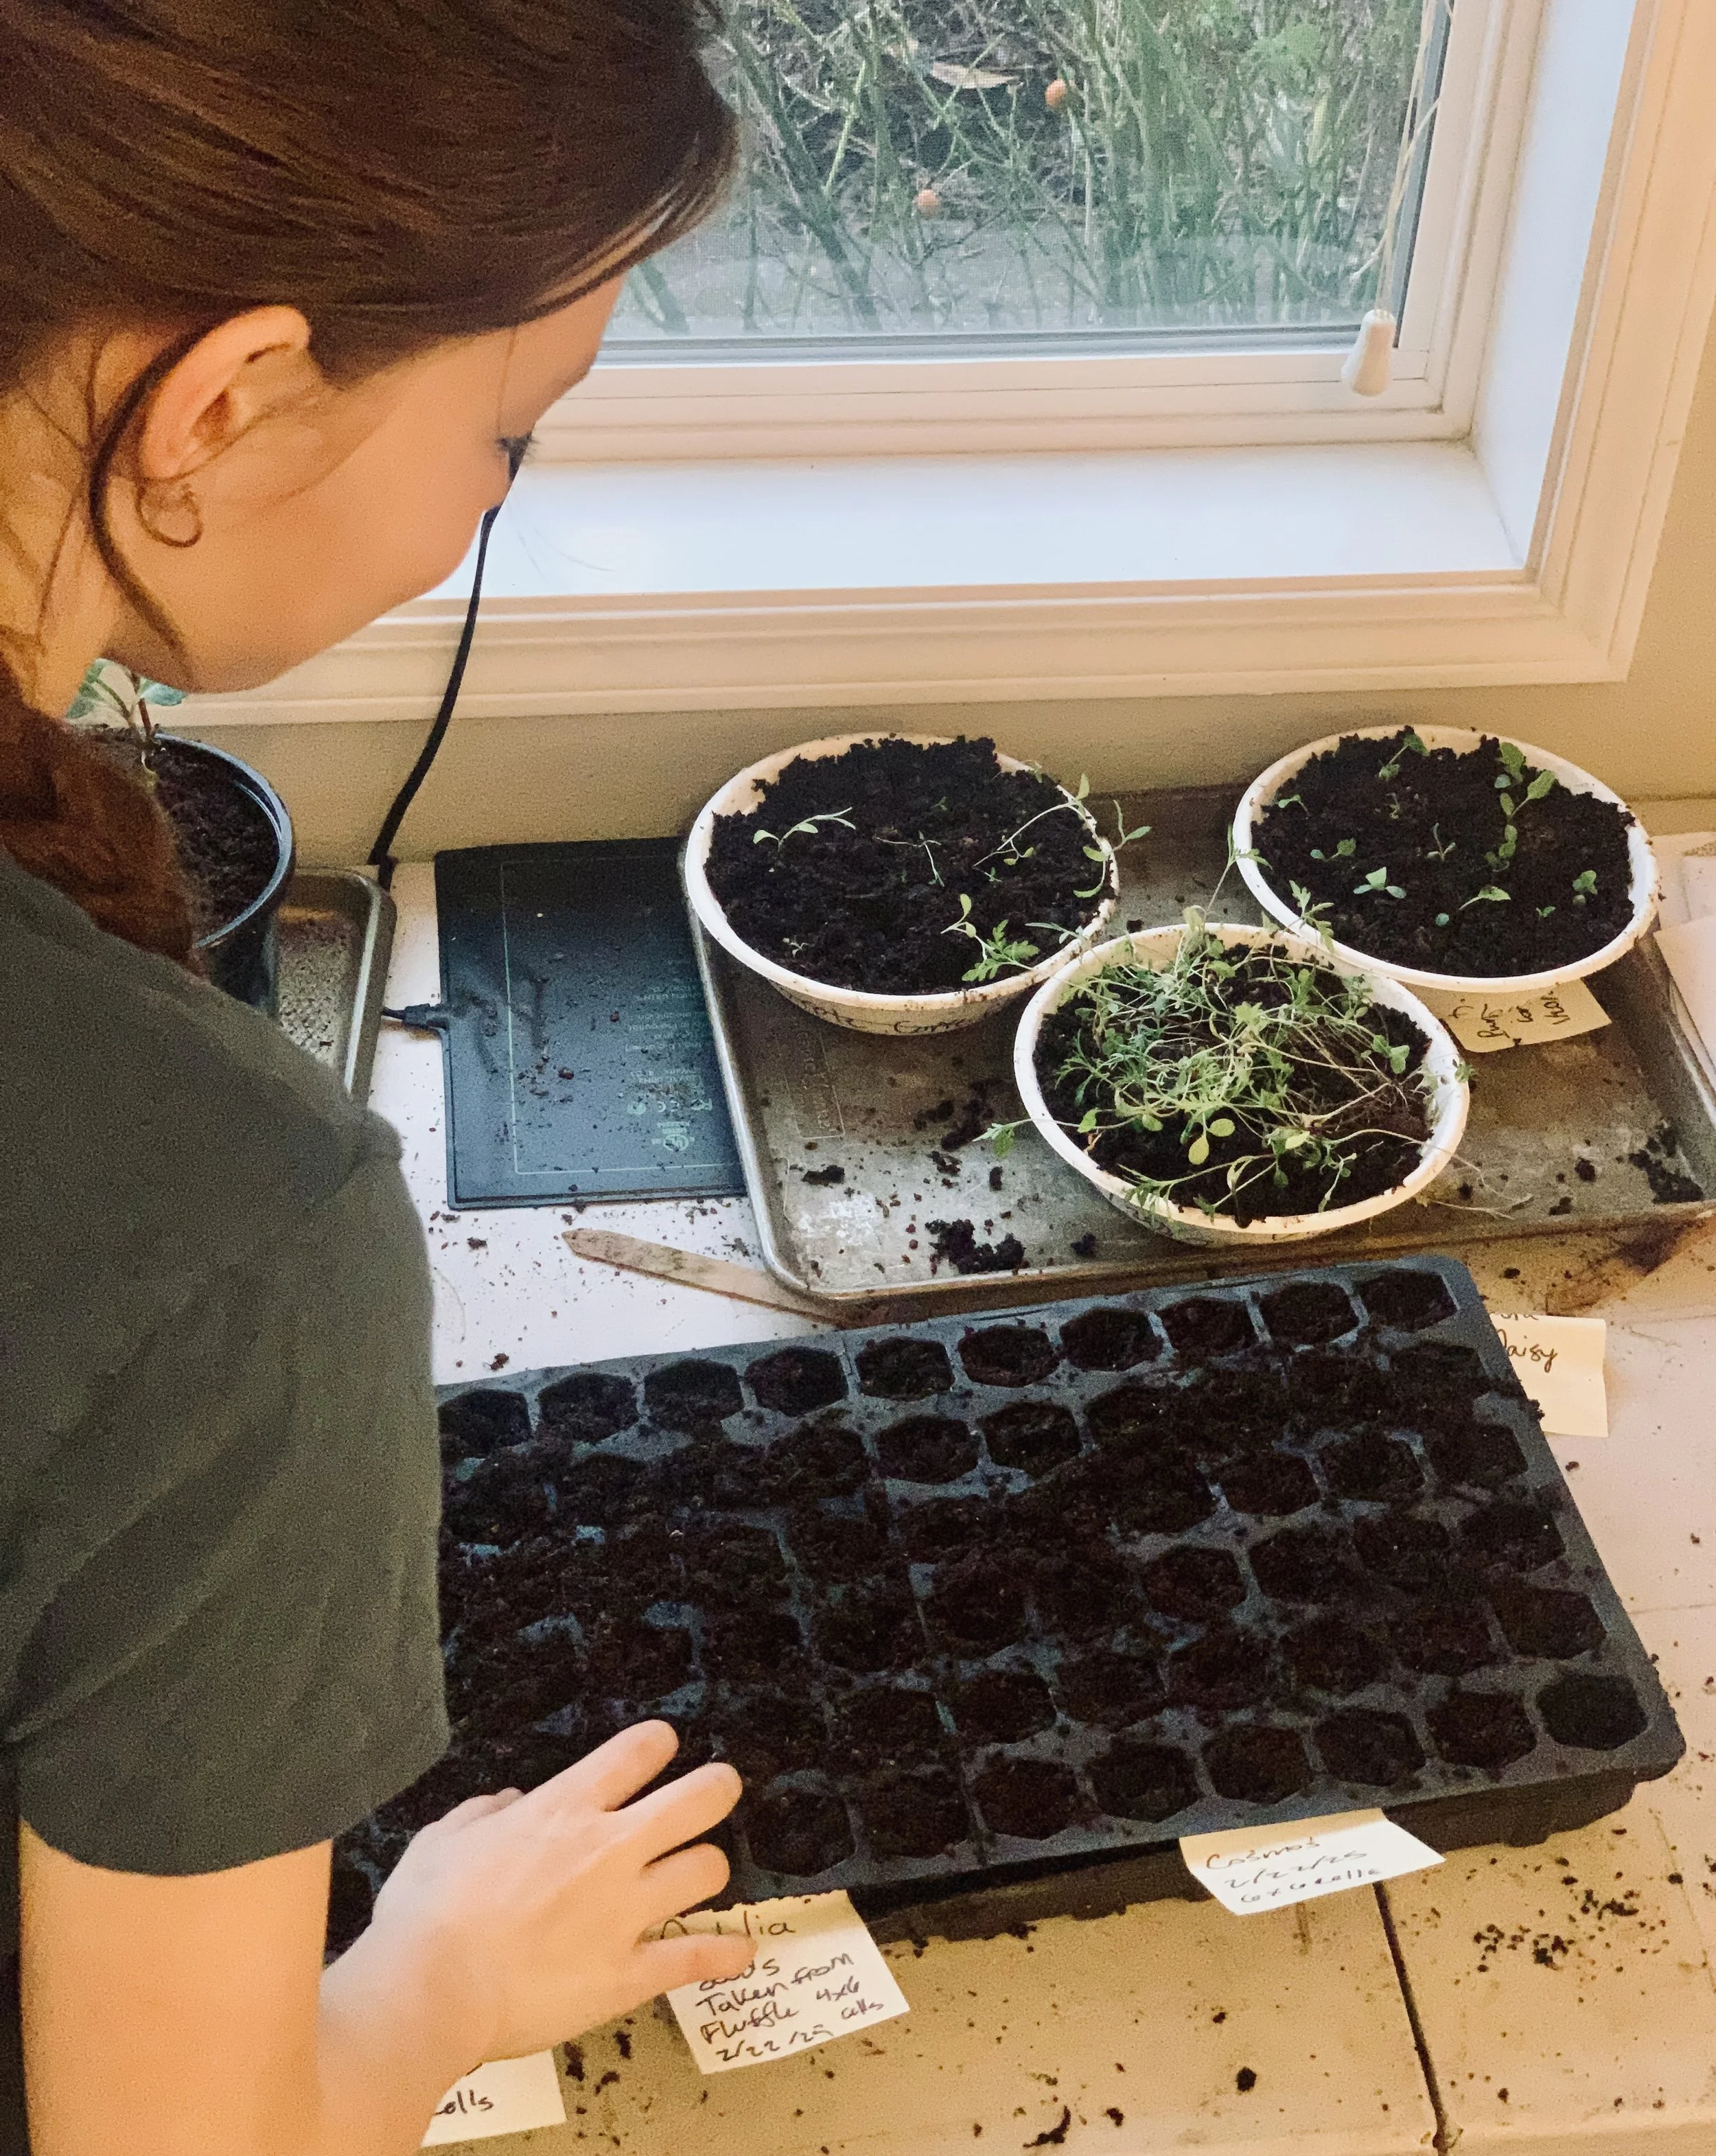
Getting To Work
Lay your flat inside your tray (or flat/tray substitute). Using your spade, scoop the dirt onto the flat and gently fill each cell. Be careful not to compact the dirt but keep it airy so the seedlings’ weak roots and weave easily through the dirt. Once all the cells are filled, using your finger, make light indents into the cell. The size of the indent should be two times the height of your seed. The indents should not be so big that the seedlings will not be able to grow up and get lost in the dirt. Carefully drop each seed into a cell. Lightly dust the top with the fertilizer. This provides a nice soft top for the seeds to break through. Do not completely burry the seeds but give them a light covering.
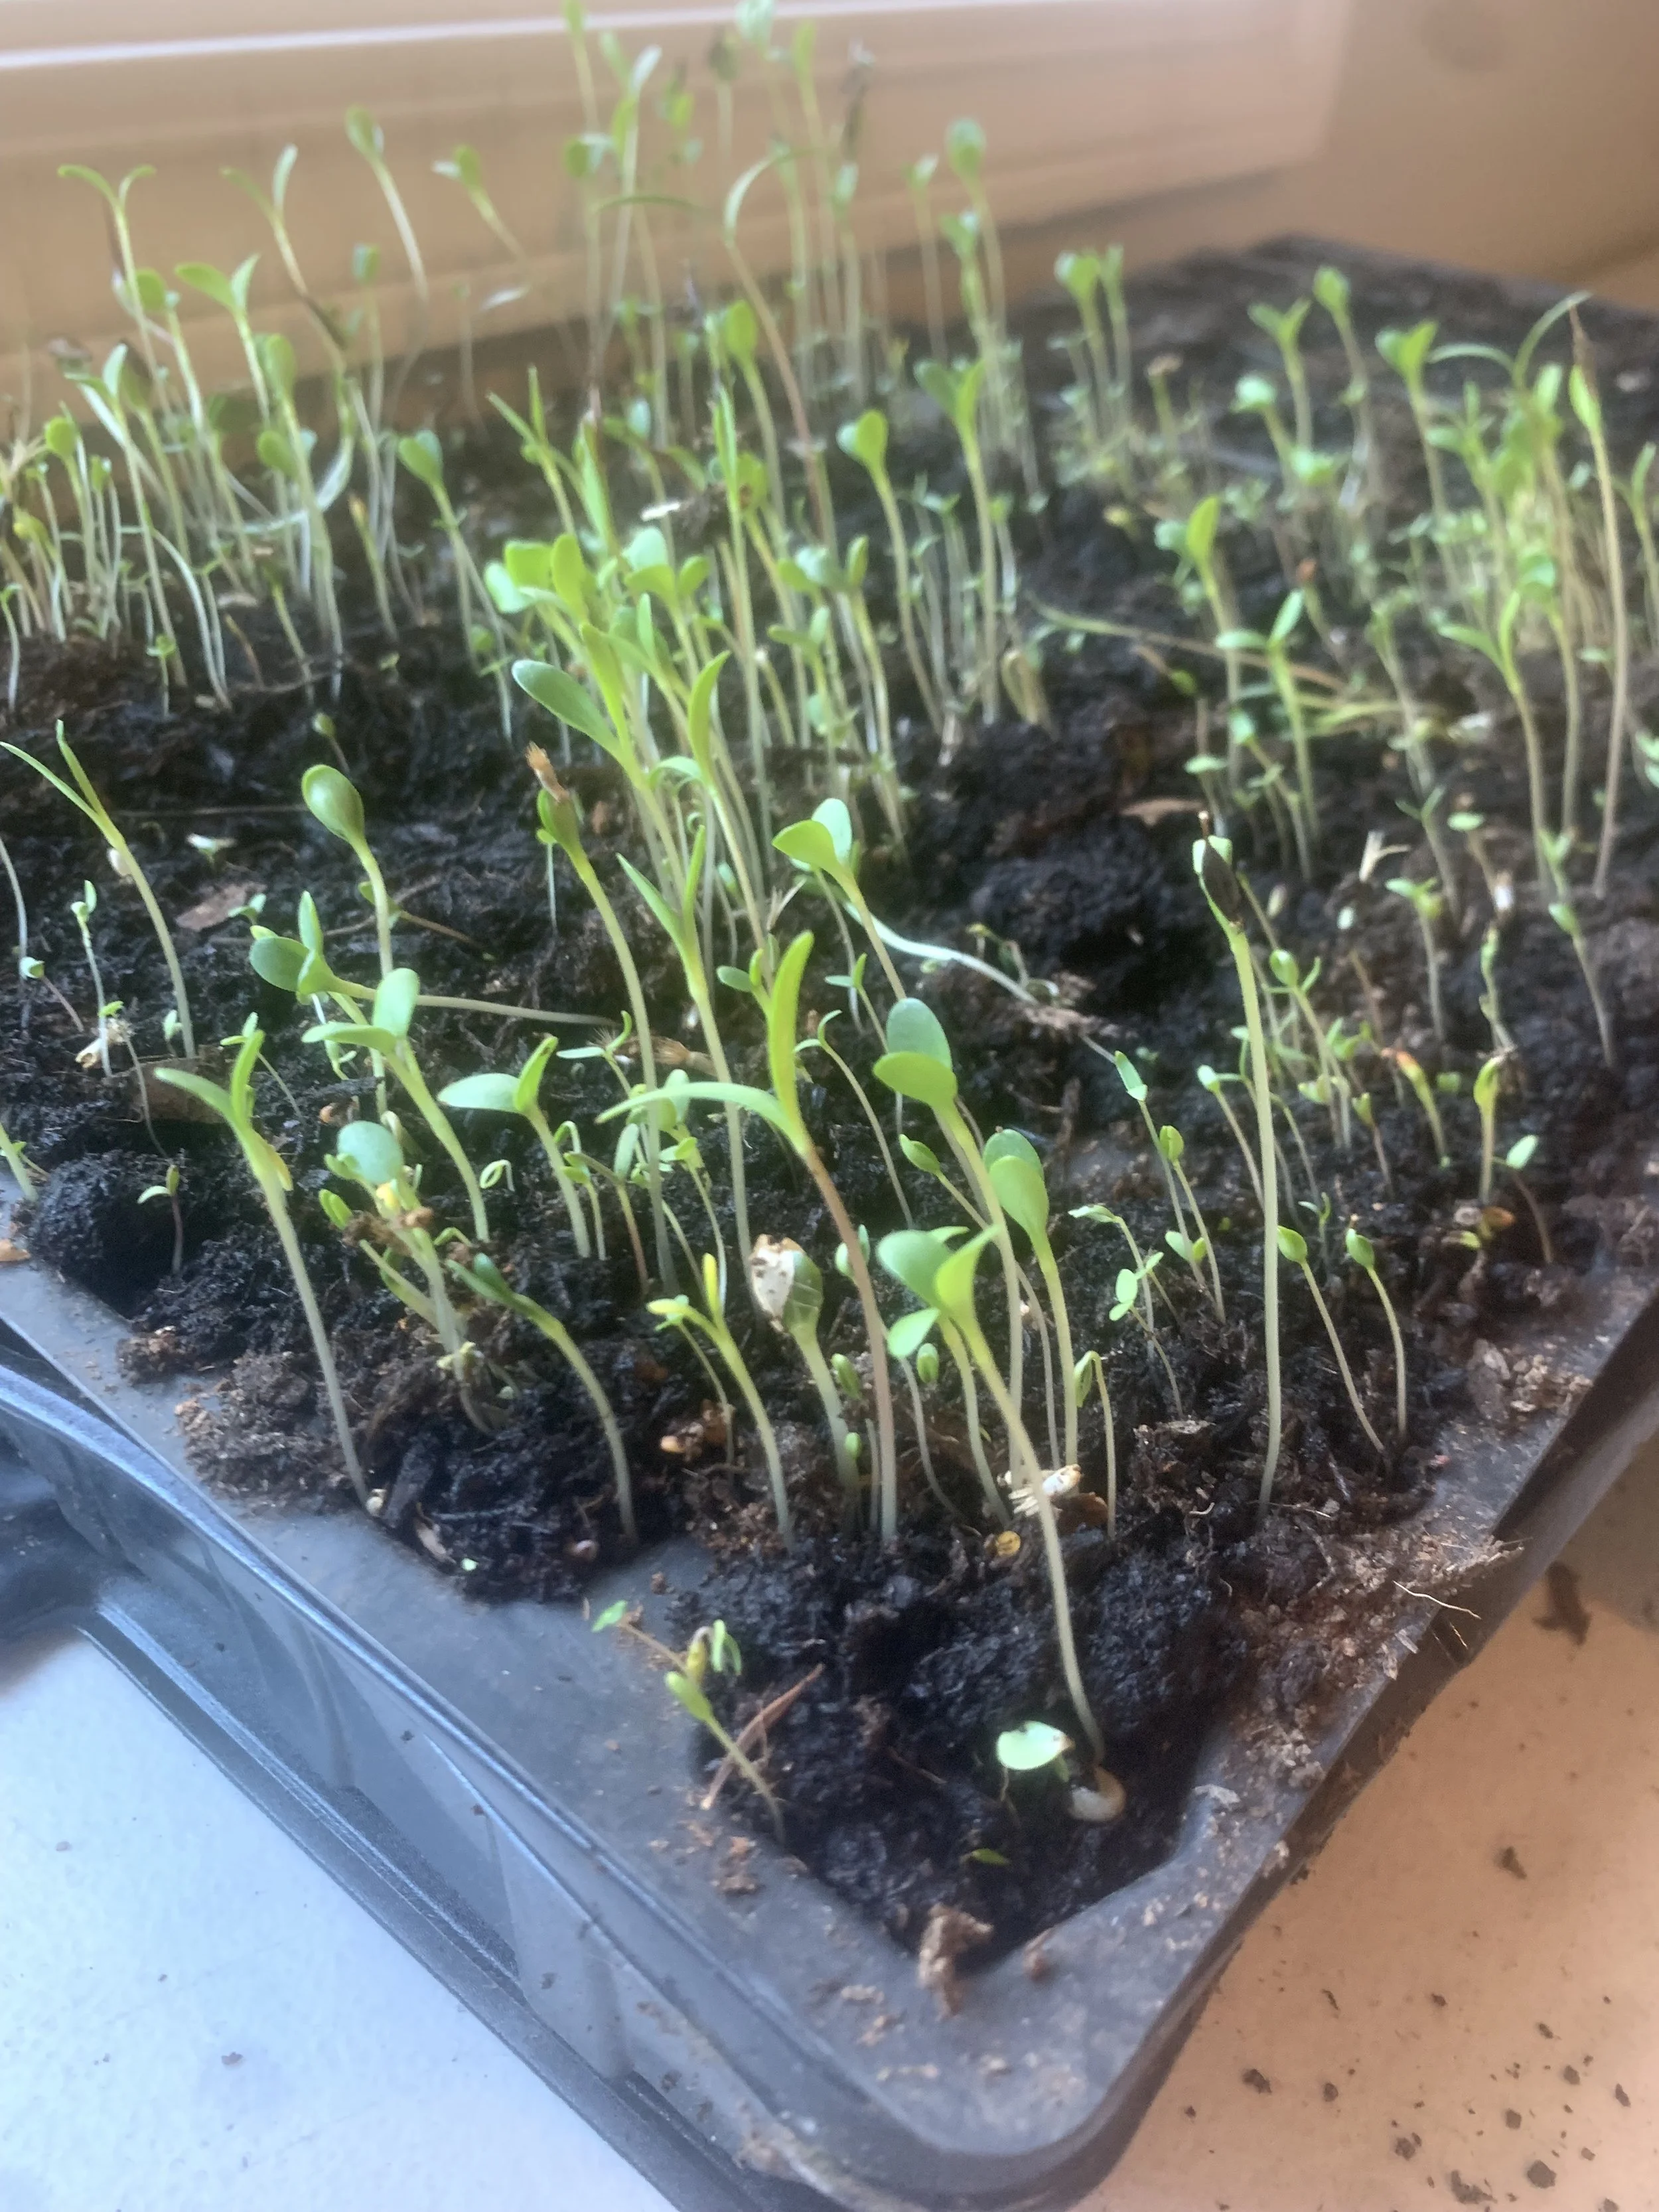
Help ‘em grow
Pick a dry well-lit space to store your seeds while they grow. I store my starts on green house shelves, but a kitchen, guest room, den, or barn works too. Warning! When picking a space keep in mind there is a chance the fertilizer might start to smell. Set the space up with your heater and lights. Place the lights in a position that hangs close to the starts. You want the light to be about an inch above your starts. This allows the starts to slowly make their way towards the light easier. Lay trays out over the heat. Leave the light and the dome lid on until the seedlings are about an inch tall. If the dome lid stays on for too long the seedling could start to get moldy. The seedling will need to remain at 70˚F degrees until they are planted in the ground. Remember to be constantly checking to make sure they have enough water. To water the starts, using a pitcher or a cup, pour into the bottom of the tray and do not overhead water, because the pressure might break the starts. If the starts are drinking the whole trays water in a day that means they are getting overheated, and the heater should be cooled down a bit. If they get too long and leggy and begin to fall over, they need more light and extra support. A small stake should be placed for them to lean against, and more light should be obtained. The trick is to watch over them carefully. Asses if their drinking to much or not enough. Do they need more light or is it getting too humid?
Just remember that everyone kills a start or two. My first batch of seedling I ever grew overheated. Out of four 75 cell trays none survived. But I tried again. I now have a huge and thriving garden. Even now I am still learning how each variety grows differently, and I will continue to learn as long as I can. Do not be hard on yourself if some of them die but try repeatedly until you succeed. I do not believe there is such thing as a green thumb. There is not a select of people who can grow things! If you are willing to learn and you have the endurance to try there is a huge chance you will succeed.